
")
In this guide, we’ll explore everything you need to know about embedding Google Slides. In the world of digital presentations and online collaboration, Embed Google Slides stands out as a powerful tool for creating and sharing presentations. One of the most useful features of Google Slides is the ability to embed your slides into various platforms and websites. Whether you’re a teacher, marketer, or business professional, embedding Google Slides can enhance your content and make your presentations more interactive.
To begin embedding Google Slides, the first step is to create your presentation and ensure that it is ready for sharing. Once your slides are perfectly polished, navigate to the “File” menu, and select the “Publish to the web” option. This feature allows you to generate an HTML code snippet that can be used for embedding your presentation on various platforms.
After generating the embed code, you can easily integrate it into your website or blog. Simply copy the provided iframe code and paste it into the HTML source of your desired location. Remember to adjust the width and height parameters within the code to ensure your slides are displayed correctly, providing an optimal viewing experience for your audience.
What Does “Embed Google Slides” Mean?
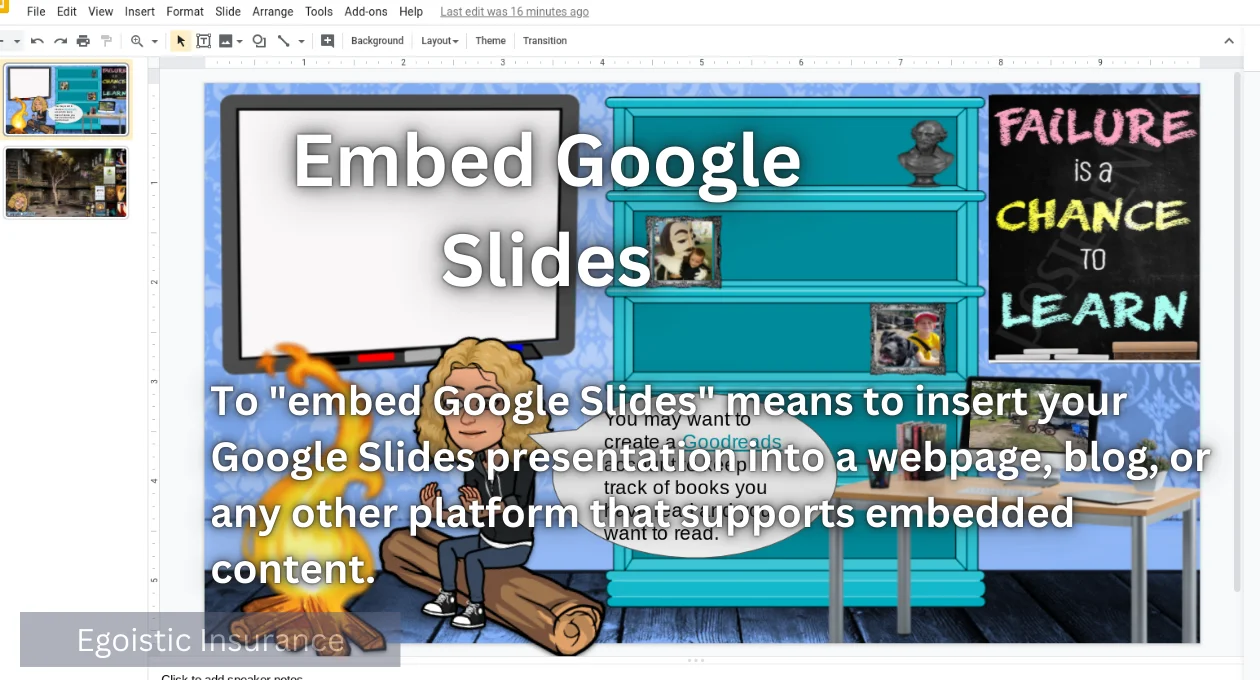
To “embed Google Slides” means to insert your Google Slides presentation into a webpage, blog, or any other platform that supports embedded content. This allows viewers to see your slides directly within the page, without needing to leave the site or open a separate document. Embedding is particularly useful for sharing presentations in a more integrated and seamless manner, providing an enhanced user experience.
Once your Google Slides are embedded, you may want to consider how interactive elements can further improve viewer engagement. Adding links within your slides can guide viewers to relevant resources or additional information, enriching their experience. It’s also beneficial to use animations and transitions sparingly, as they can draw attention to key points without overwhelming the audience. Remember that clarity is crucial, so ensure that any interactive component enhances the overall presentation.
Additionally, testing the embedding on different devices is essential to verify compatibility and responsiveness. Ensure your slides display correctly on both desktop and mobile platforms, as many viewers may access your content through smartphones or tablets. By doing so, you can identify any issues that may affect user experience and make adjustments as necessary. Regularly updating your presentation content is also recommended, to keep your audience informed with the latest information or insights related to your topic.
Why Embed Google Slides?
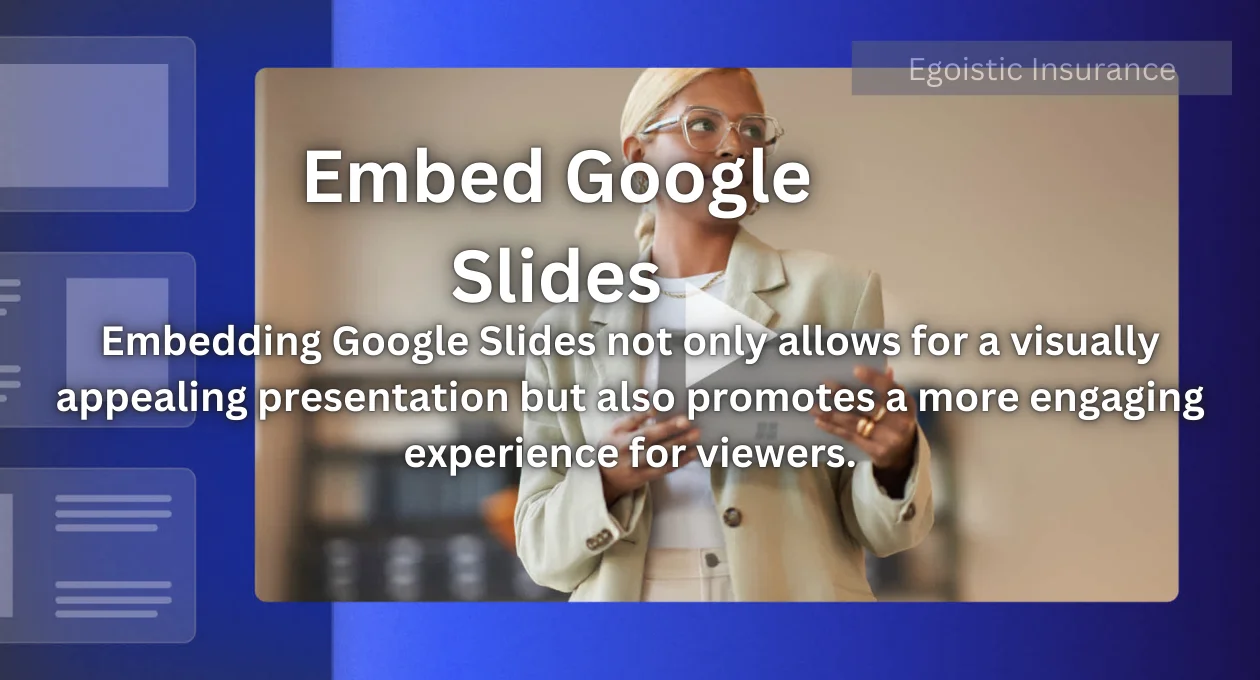
Embedding Google Slides not only allows for a visually appealing presentation but also promotes a more engaging experience for viewers. By integrating your slides directly into your website, visitors can easily interact with your content without the distraction of navigation away from the page. This seamless experience can lead to better retention of information and increased interaction with your material. Moreover, the more you facilitate easy access to your presentations, the more likely your audience will revisit your content.
Furthermore, enhancing your embedded Google Slides with additional multimedia elements, such as videos or audio clips, can further captivate your audience. Incorporating these features enriches the overall presentation and provides different ways for viewers to engage with the topic at hand. In doing so, you transform a static presentation into an immersive experience, allowing for varied learning styles. Remember, the key is to strike a balance so that the additional elements complement rather than overshadow the core message of your slides.
- Enhanced Visibility: Embedding your slides on a webpage or blog makes them easily accessible to your audience. Instead of sending links or attachments, viewers can see the presentation directly on the page, which increases engagement.
- Interactive Presentations: Embedded Google Slides presentations retain their interactive features, such as animations and transitions, which can make your content more dynamic and engaging.
- Real-Time Updates: When you update your Google Slides presentation, the embedded version on your website or blog updates automatically. This ensures that your audience always sees the most current version of your slides.
- Improved Integration: Embedding allows your slides to be seamlessly integrated into your existing content, such as a blog post or webpage, enhancing the overall flow and cohesiveness of your content.
How to Embed Google Slides
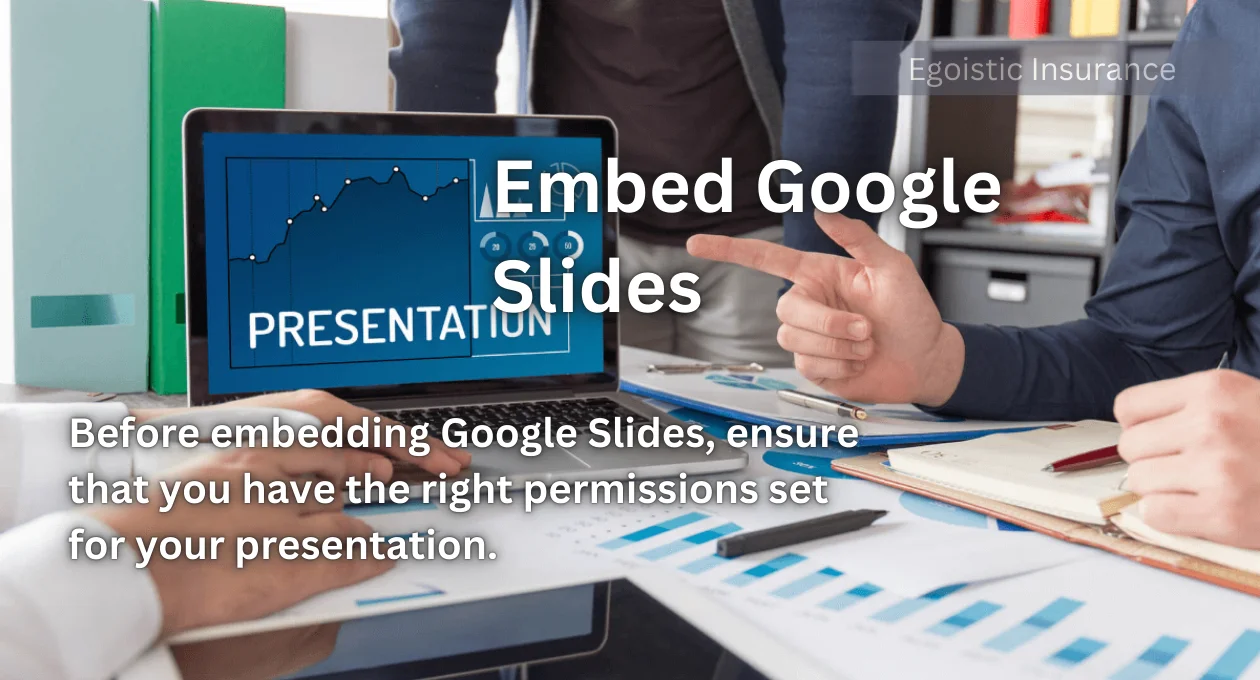
Before embedding Google Slides, ensure that you have the right permissions set for your presentation. It’s essential to adjust the sharing settings so that your audience can view the slides without needing permission. You can set your presentation to “Anyone with the link can view,” providing easy access for everyone visiting your site. This simple adjustment will enhance viewer experience and facilitate smoother engagement with your content.
Another important consideration is the context in which your Google Slides are being embedded. Depending on the platform, you may want to tailor the layout and design of your embedded slides to match the overall aesthetics of your website or blog. Consistency in design not only strengthens brand identity but also makes your content more visually appealing. Always remember to keep user experience in mind when embedding, as a well-integrated presentation will encourage more interaction and retention.
Embedding Google Slides is a straightforward process. Here’s a step-by-step guide to help you do it:
Step 1: Prepare Your Presentation
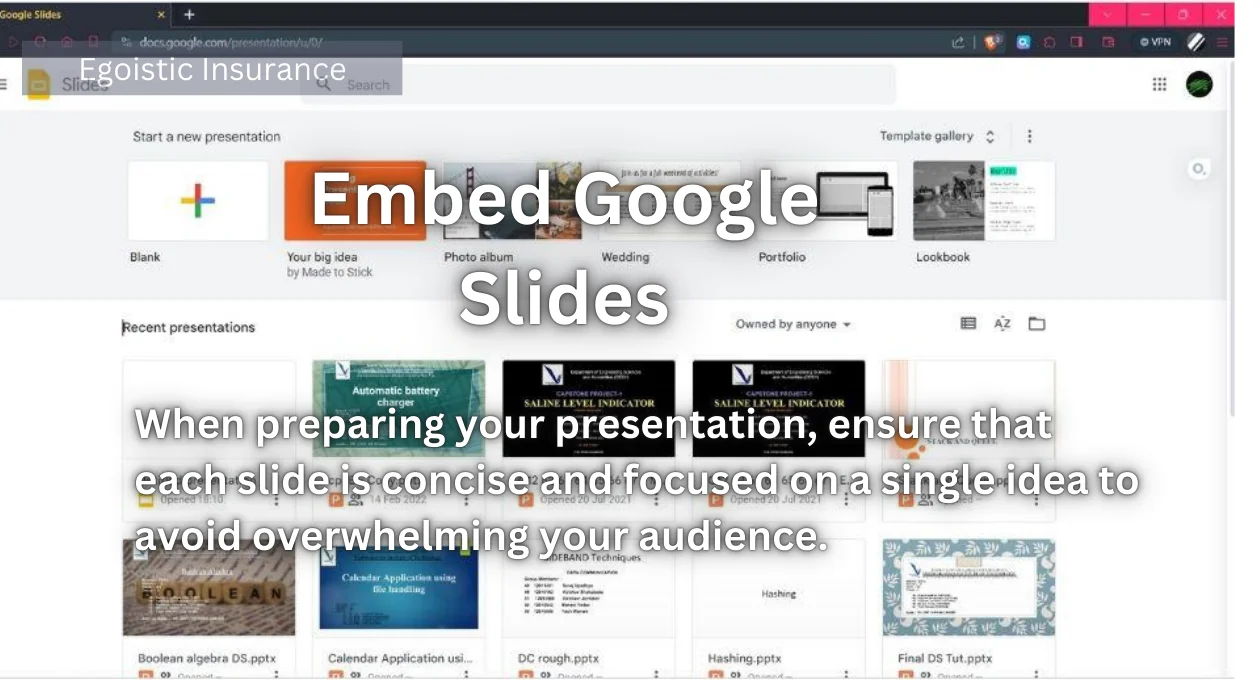
When preparing your presentation, ensure that each slide is concise and focused on a single idea to avoid overwhelming your audience. Utilize bullet points and visuals where possible to convey your message clearly and efficiently. Additionally, consider the overall flow of your presentation, ensuring a logical progression that builds upon each point. This structure will help maintain viewer engagement and enhance understanding.
Once your slides are ready, test the embedded presentation across various devices and browsers to ensure compatibility. This step is crucial, as different platforms can render presentations differently, impacting the viewing experience. Take note of any issues that arise and make adjustments as needed to guarantee smooth accessibility for all viewers. Consistently refining your presentation will lead to a more polished and professional final product.
Ensure that your Google Slides presentation is complete and ready to be shared. Review your slides for any final edits or updates.
Step 2: Get the Embed Code
- Open Google Slides: Go to Google Slides and open the presentation you want to embed.
- Click on File: In the top menu, click on “File.”
- Select Publish to the Web: From the dropdown menu, select “Publish to the web.”
- Choose Embed Option: A new window will pop up. Choose the “Embed” tab.
- Customize Settings: You can adjust the settings for your embedded presentation, such as the slide size and the auto-advance timing.
- Get Embed Code: Click the “Publish” button. You’ll be prompted to confirm your choice. After confirming, you will receive an HTML embed code.
Step 3: Embed the Code
Once you have the embed code, it’s time to integrate it into your website or blog. Open the HTML editor or the section of your content management system where you’d like the presentation to appear. Paste the embed code exactly where you want the slides to show up, ensuring that it sits within the appropriate section of your page to maintain design consistency. Preview the changes to confirm that the embedded slides display correctly and make any adjustments as necessary to enhance user experience.
Additionally, consider promoting your embedded Google Slides presentations through social media or email newsletters. This outreach can drive traffic back to your site and increase viewer engagement with your content. Encouraging feedback or interaction, such as asking viewers to comment or share their thoughts, can foster a sense of community and encourage repeat visits. Ultimately, leveraging these strategies will maximize the impact of your embedded presentations and strengthen your audience connection.
- Copy the Embed Code: Copy the HTML embed code provided.
- Paste the Code: Go to the webpage or blog where you want to embed your Google Slides presentation. If you’re using a content management system (CMS) like WordPress, switch to the HTML or code view of your post or page editor.
- Insert the Code: Paste the embed code into the HTML or code view. Save or update your page to display the embedded presentation.
Step 4: Adjust Display Settings (Optional)
When adjusting display settings for your embedded Google Slides presentation, consider factors such as size and aspect ratio. The dimensions of the slides should complement the layout of your webpage to ensure visual harmony. You may wish to experiment with different sizes, such as full width or a specific pixel height, to find what works best for your design. Additionally, making sure that the slides are responsive will enhance accessibility on various devices, including tablets and smartphones.
Another useful enhancement is the addition of navigational elements. Providing clear arrows or buttons for viewers to move between slides can improve user experience by allowing them to control their engagement with the content. Consider incorporating a user-friendly design that encourages interaction, such as hover effects or transitions that guide viewers smoothly from one slide to the next. By enhancing navigation, you can create a more immersive experience for your audience while ensuring they stay engaged with your presentation.
Depending on the platform you’re using, you may be able to adjust the display settings of your embedded Google Slides presentation, such as size or alignment. Make sure to preview your page to ensure that the presentation appears as you intend.
Troubleshooting Common Issues
When embedding presentations, it’s essential to be aware of potential issues that may arise during the process. Common problems include incorrect display sizes, which can distort the visual presentation of your slides, or issues with auto-advancing slides that may not function as intended. To mitigate these challenges, always preview the embedded content across different devices and browsers to ensure a consistent viewing experience. Additionally, keeping your presentation links updated can prevent broken connections that might disrupt access to your slides.
Another aspect to consider is viewer feedback, which can provide valuable insights into how your presentation is being received. Encourage users to leave comments or ratings, which not only fosters engagement but can also inform your future presentations. Monitoring these interactions can help you refine your content and improve your embedding practices over time. Ultimately, being proactive about troubleshooting and fostering communication with your audience will enhance the effectiveness of your embedded Google Slides presentations.
- Presentation Not Showing: If your embedded presentation isn’t showing up, check to ensure that the embed code was copied and pasted correctly. Also, make sure that the presentation’s sharing settings allow public access or access to anyone with the link.
- Formatting Issues: If the presentation appears misaligned or improperly formatted, adjust the size parameters in the embed code or the settings in your CMS.
- Auto-Advance Not Working: If slides aren’t advancing automatically, double-check the auto-advance settings you configured before copying the embed code.
Best Practices for Embedding Google Slides
When embedding your Google Slides presentation, it’s important to maintain a visually appealing layout that complements your overall design. Consider using a border or background that harmonizes with your site’s colour scheme, ensuring that the presentation stands out without clashing with other elements on the page. Additionally, using high-quality images and consistent fonts throughout your slides can enhance the professionalism of your content and leave a lasting impression on viewers.
Engaging your audience is crucial for a successful presentation. Encourage interaction by posing questions or inviting comments directly within the embedded content. You might also consider linking to related articles or resources at the end of your presentation to guide viewers toward further exploration of the topic. By fostering a sense of connection and providing additional value, you can significantly elevate the impact of your Google Slides on your audience.
- Ensure Compatibility: Make sure the platform where you’re embedding your slides supports iframe elements, which are used in the embed code.
- Optimize for Mobile: Test how your embedded presentation looks on different devices, including mobile phones and tablets, to ensure it is responsive and accessible.
- Keep It Simple: Avoid embedding overly complex or large presentations that might slow down your webpage or create a cluttered appearance.
- Regular Updates: Keep your embedded presentation up-to-date by regularly reviewing and updating your Google Slides as needed.
FAQs
How do I change the size of my embedded Google Slides presentation?
To change the size of your embedded presentation, modify the width and height parameters in the embed code before pasting it into your webpage. You can adjust these values to fit the desired dimensions for your site.
Can I embed a Google Slides presentation that is not public?
No, to successfully embed a Google Slides presentation, you must ensure that the sharing settings are configured to allow view access for the public or anyone with the link. Otherwise, viewers may encounter access restrictions.
Will my embedded presentation work on mobile devices?
Yes, as long as the embed code is responsive and the presentation is properly formatted, it should display correctly on mobile devices. It’s advisable to preview your presentation on various screen sizes to ensure optimal viewing.
What should I do if my embedded presentation is not loading?
If your presentation is not loading, first check your internet connection and ensure that the embed code was copied and pasted correctly. Additionally, verify that the sharing settings allow public access and that the original Google Slides presentation is accessible.
How can I track viewer engagement with my embedded presentation?
To track engagement, consider using analytics tools available on your website platform or embedding features that allow you to gather viewer feedback. Encouraging comments and ratings can also provide valuable insights into the viewers’ experiences and interactions with your presentation.
Conclusion
Embedding Google Slides is a powerful way to integrate your presentations into your digital content, making them more accessible and engaging for your audience. By following the steps outlined above, you can seamlessly embed your slides into various platforms, enhancing your ability to share and showcase your work. Whether you’re presenting a business proposal, sharing educational material, or showcasing a creative project, embedding Google Slides helps ensure that your content reaches your audience in the most effective way possible.
When creating embedded presentations, it’s essential to prioritise user experience. This necessitates a careful balance between visual appeal and functionality. Incorporating interactive elements within your slides can significantly boost engagement, encouraging viewers to connect more deeply with the content. Additionally, providing clear navigation options can help guide your audience through the presentation, ensuring they grasp the key messages effectively.
For more interesting information keep visiting egoisticinsurance.online